Easy 9 Steps Guide – How Clean Is Your House Cleaning Tips?
A clean home is a healthy and happy home. It takes a lot of effort and dedication to keep your home neat and tidy. The larger your household the more complicated the cleaning process.
Here are some tips to help you plan an effective and efficient cleaning routine for your entire home. You might get worried about the list of stuffs you might need while working.
How Clean is Your House Cleaning Tips?

1. Decide how clean you want your house to be and how much time you have
Cleaning is not a one-time effort. It has to be a continuous and recurring activity. So it is essential to create a practical schedule. This means that you should be very honest with your self.
There is no point in creating elaborate plans if you are not able to stick to it for the long term. Factor in all the relevant aspects. Your availability, usual motivation levels, cleanliness requirements all have a say in how much you can achieve.
Always plan from the basics. Try to get the little things done first before moving onto the more complicated an time-consuming tasks.
2. Always have a cleaning checklist and a plan of attack
Have a starting point. Pick a room, with either the front door or the back door, and start from there. This will get things done faster, and remove any risk of duplicating your efforts.
Plan everything in such a way that you can do all the rooms together in each round. For example, sweep all the rooms together, then vacuum everything, and then finally mop everything in one go.
3. Attempt to delegate tasks
Get other people in your household involved as well. Cleaning should not be the responsibility of just one person! If you want, you can take the leadership and initiative. Try to establish a rotating schedule of cleaning duties. Give tasks to each member based on their age and abilities.
4. Cleaning the Bathroom
A. Clean the toilet
It is often best to get this over with as early as possible. Do not leave the worst, most disgusting tasks for the end when you are probably exhausted. Use a pair of rubber gloves to protect your hands.
Use a sponge to clean the toilet bowl with a gentle rub. Use warm water to loosen dirt up. Soak the bowl with toilet cleaner and let it sit for several minutes. Use a toilet brush to scrub everything.
Finish up with a final flush.
Use disinfectant on the outer surfaces. Wipe dry with paper or cloth.
B. Clean the Shower or Tub
Showers will require considerable effort to clean. They get dirty pretty quickly. Use a shower cleaner and bristle brush. If you don't have shower cleaner, dishwashing liquid is an excellent substitute.
It can remove the scum at the bottom of a tub as well. Use an antibacterial solution to finish up the cleaning once all the muck is scrubbed off.
C. Clean The Sink
Always check before using any cleaner on the sink to ensure that the chemicals are safe on the surface. Leave the cleaner on the sink surface for several minutes to work on the dirt and muck and bacteria.
Then scrub everything with a sponge. Once clean, rinse with warm water and dry with towels. Use a brush for any stubborn stains.
D. Clean the Glass/Mirrors
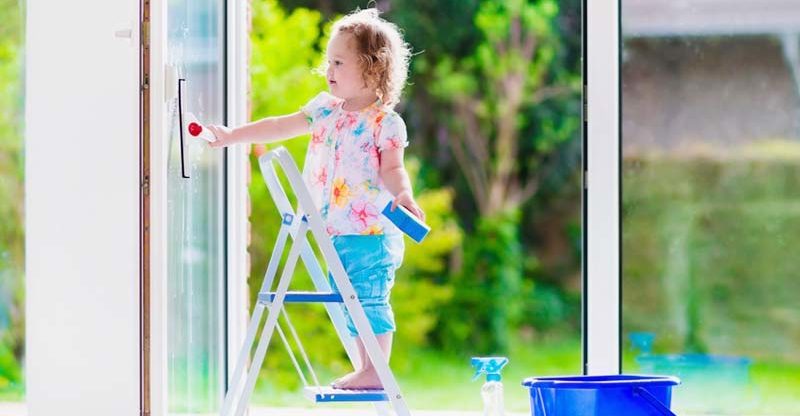
Glass cleaners do not clean the glass; they only make them sparkle. Cleaning as always requires some soap or detergent water. Start by washing the surface dirt with warm water and dish soap, and a sponge or rag.
You can also use vinegar and water if you want a more eco-friendly approach. Use a lint-free cloth t dry, and polish with an old newspaper. You will have to apply a lot of pressure to clean the glass and make it shine.
Or you can use the glass cleaner along with a paper towel to get the glass to shine. You can use old newspaper if you wish.
5. Cleaning the Kitchen
A. Wash the Dishes
The best method is to fill your dishwasher entirely and then clean everything at once. This is the most energy efficient method.
As for the bigger utensils that cannot fit inside the dishwasher, you will have to stick with hand washing. Do not wash fragile china and ceramics in the dishwasher, as the process is too abrasive.
B. Try Hand-Washing Dishes, Too
Of course, if you keep the used dishes lying around, they can get dried and crusted and much harder to clean even in the dishwasher. Often, the best policy is to handwash a dish as soon as it is used. You will not have to scrub them very hard or soak them for a long time in the water.
Just use a wet sponge/scrubber and dish soap. Rinse everything with warm/hot water. Soaking everything together is a very unhygienic method, It allows for the breeding of a lot of bacteria.
And there will be a lot of dirty water to be disposed of as well. If you have a single dish that needs soaking due to burnt or baked food particles, that is fine. But otherwise, it is safest to avoid leaving dirty plates lying around waiting for the dishwasher.
C. Dry Your Dishes, Too
Even after a dish has been washed, bacteria can still colonize its surface as long as water is available. So it is very important to dry the dishes thoroughly after washing them. Place all dishes on a drying rack. Don't forget about the cleaning sponges or scrubs either. Allow them to dry in between your dishwashing sessions.
D. Clean the Oven And Microwave
This is another massive chore in the kitchen that nobody enjoys doing. But if you manage to clean them on a regular basis, your kitchen will start smelling better when you cook. If the oven has a self-cleaning setting, exploit that to the fullest.
All you need to do then is to clean the wire racks. The system will take care of the rest. Once that is done, you can clean the ashes at the bottom of the oven. Clean the microwave using a solution of vinegar, lemon, dish soap, and water.
Place this mix in a bowl and run the microwave for a few minutes. Wipe with a rag to remove all the gunk that falls off from the walls.
E. Organize the Cabinets
When it comes to the cabinets, the focus should be on creating a system that is easy to access and intuitive. Often the simplest thing to do is take everything out, clean the space, and put everything back in.
You can use any method to get the dirt out. Use wet or dry cleaning methods or a combination of the two. When you are putting things back inside, try to organize things better. Do not forget to throw away useless or expired products.
F. Cleaning the Fridge
Cleaning a fridge is often a significant project in itself. Start by emptying the refrigerator of all the contents. Look for expired and spoiled food items. Throw these away at once.
Use baking soda and water to wipe down every surface, shelf, and rack inside. Once the crispers are wiped clean, line them with paper towels for easier cleaning in the future.
6. Cleaning the Bedroom

A. Organize all the clutter
It is all about starting from the top and working your way down. Tackle the surface chaos in the beginning. The clothes on the floor, the waste paper lying about, the toys and other random objects, deal with them all.
Get rid of the waste, and put the rest in their proper places. You might want to carry around a laundry bag when you are doing this kind of cleaning.
B. Make the Bed
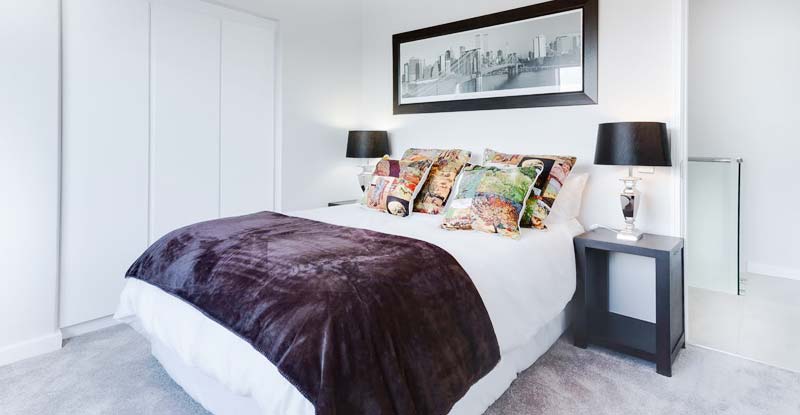
This is an important step to make any bedroom look clean and tidy. Even if you will eventually mess up the bed at night, try and get it tidied up during the day. Don't forget to use clean sheets and pillows as often as possible for best results.
C. Organize Your Closet
Have a proper system in place for your closet, and try to maintain it on a daily basis. Otherwise, cleaning and organizing the closet will eventually become a gargantuan task. Look for useless or unused items and throw them away. Keep everything else neat and classified according to their use.
D. Dust, Vacuum or Mop, and Spray a Pleasant Scent into the Room:
You will have to clean all the different nooks, and crannies in your room. This should also include the space under your bed. All these spots can accumulate a lot of dust and dander. Use either a dust mitt or dust cloth, followed by the vacuum cleaner, and the mop and pal for best results.
E. Clean the Exhaust Fan
Canned air is an excellent solution to a clogged grille on an exhaust fan. This is much better than a vacuum cleaner. Turn the fan on, and then give the grille a blast or two of canned air. The fan will blow out the dust particles dislodged by the blast of canned air.
7. Cleaning General Living Areas
A. Clean the Floor
The approach will be different based on the type of floor you have. For carpets, a vacuum is a great way to start the cleaning process. For hard tiles and wooden floors, a dry dust mop might be a better choice. Carpet sweepers are also a convenient alternative to vacuum cleaners.
B. Mop Your Floor
Modern methods are available, but they can never be as good as a god moping for dealing with hard and tick grime. This is often the best option for kitchen floors, especially the tiled and wooden surfaces. Mops with real fabric are better than sponge mops. Hot water is the best companion for a good rag mop.
C. If You have Pets, Fight Against Fleas
The vacuum cleaner is the ultimate weapon against fleas and ticks. Carpets can be a breeding ground for fleas and other pests and mites. If you have carpets and pets, remember to vacuum these surfaces on a daily basis.
This is a far better option than using chemical poisons. Borax is another safe option to kill small fleas and other pests in the carpets.
D. Dust the Furniture
Dust mites are almost invisible pests that reside in our furniture and mattresses. They can wreak havoc on folks with allergies and asthma. Dusting and vacuuming are essential to keep them in check. Use a damp cloth or dusting mitt over all the surfaces of your furniture. Try not to miss any spots.
E. Polish the Wood Furniture
Furniture polish can be used to add some shine to your wooden articles. They can also be used to clean some surfaces. Read the labels on all products to ensure that you are using them properly and for the intended wood surfaces. If the wood is rated safe to handle water, you can also use a mix of soap and warm water. Just remember to dry everything promptly.
F. Be Careful Using All-Purpose Cleaners
All-purpose cleaners are not safe for all surfaces, despite their name. Read the labels to ensure that the product is safe for your requirements. You should never mix different brand cleaners. This can be dangerous. If you have to use multiple products, use them one after the other.
G. Organize The Knickknacks And Fluff The Pillows
This is one of the easier tasks. You can start with these smaller tasks once the main cleaning is over. Make everything neat and tidy, and arrange the pillows and cushions in an attractive and orderly fashion. If you have any throw blankets, straighten them up. If the room looks too cluttered, consider removing some items to storage.
H. Beat and Shake Area Rugs
Most area rugs require special cleaning procedures. These instructions are provided on a label on the rug. Check the label and follow the instructions for best results. If by any chance your rug does not have this feature, you should use vacuum as a standard cleaning option. Take them out and give them a good beating and shake for best results.
8. Wrapping Up Your Cleaning Session
A. Don’t Forget To Clean Outside
Don't just focus on cleaning your indoor areas. Outdoor spaces are important too. They are visible to the rest of your community and neighborhood. Keeping them dirty and untidy will give a very poor impression and can lead to complaints as well.
Rake the leaves often to prevent the growth of bugs. It also allows the grass to grow thicker and healthier. Trim and prune any plants and bushes as well.
B. Do The Laundry With A Washing Machine Or By Hand
If you don't do your laundry in time, it will result in a pile of dirty clothes in your room. Use the washing machine for best results.
Set the water at the required temperature and add the detergent and fabric softener. Then add the clothes later. This is the safest generic steps for washing in most machines.
C. Dry Your Laundry
Do not toss the clothes straight into the dryer. Wait for the wash cycle to finish. Then take out the clothes, remove the twists from the fabric and then put them in the dryer.
This will reduce the chance for heavy wrinkles. The best option after drying is to remove the clothes while they are still warm.
9. Tips for better cleaning of your house
A. Saving Excess Work
This involves using some simple preventive measures to reduce your eventual workload while cleaning. For instance, forbid the use of shoes and footwear inside the house. This will reduce the need for frequent vacuuming. You can provide a spot for everyone to place the shoes, along with a mat to clean their feet.
B. Keep An Eye On Bag/Canister
This is a standard tip for using the vacuum cleaner. Always check the dust bag before starting your vacuum. If the bag is three-quarters full, your best option is to start with a fresh bag.
Do not wait for the bag or canister to reach full capacity. This can clog the device and lead to a bigger mess if the dust escapes.
C. Dust Your Home Before Vacuuming
Many folks dust their homes after vacuuming. This is not the right way. When you dust your home, the dust particles on every surface is disturbed. They eventually settle down on the floor.
If you do the dusting before vacuuming, all that dust gets removed from your house. When you dust after vacuuming, it only results in the floor getting dusty all over again.
D. Use All The Attachments
Modern vacuum cleaners come with a lot of attachments. They are not there as decorative pieces! You can get a much better cleaning job done if you utilize these attachments properly.
Use the crevice tool to clean all edges. Dusting brush is perfect for delicate surfaces, while the brush roll is ideal for carpeting.
House cleaning is certainly no easy task. But with proper planning and teamwork, you can certainly make it easier. It is important to make it a routine task. Otherwise, the job will only get harder as the dirt, and grime accumulates with the passage of time.
Do you have any other tips and tricks to share? Please use the comments section to share them, along with your comments and queries.


